Choosing Between Computerised and Mechanical Sewing Machines
How to Bind a Quilt Tutorial
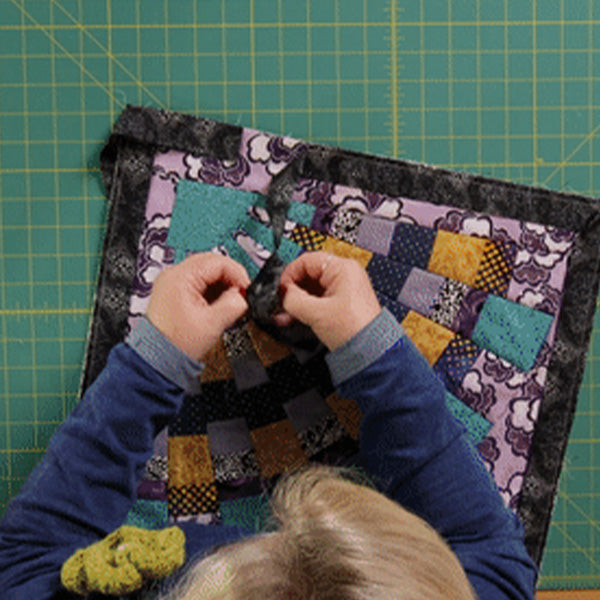
Katrina takes you step-by-step through how she binds her quilts.
Throughout this simple process, she also demonstrates the best way to create a mitered corner.
What You Need
- Quilt
- Ruler
- Rotary Cutter
- Pins
- Binding Clips
- Fabric for your binding (cut to correct measurements)
- Sewing machine (threaded) with walking foot attachment
- Iron
How To
Use a ruler and rotary cutter to trim your quilt to the desired size.
Measure your quilt and figure out the total circumference — this is how much binding fabric you’ll need.
For example, Katrina’s quilt is 18” square:
18” × 4 = 72”
Most bolts of fabric are 42” wide. Katrina decided to cut 80 inches (two strips from a bolt) for her binding.
Remember: Allow extra fabric for the tail end and mitered corners.


Tidy up any raw edges before cutting. Then cut two 2½ inch strips and trim off the selvages.
Sew your two pieces together using a quarter-inch seam.
If you’re new to binding, it’s easier to do a straight join — some prefer joining at a 45° angle.

Press the seam open. Normally in patchwork we press to one side, but for binding, press seams open. Then press the strip in half, wrong sides together, to create the binding.

Katrina chose to start her binding at the bottom left of her wall-hanging quilt.
“I tend to do that with all quilts — I place it there so it’s not top centre where you’ve got joins.”
Leave a long tail and start pinning. Align the folded edge toward the quilt and the raw edge with the quilt edge.

At each corner, prepare for a mitered corner. Fold into the corner, crease, and lift so the tail sits square along the next edge. Pin in place.

Repeat this on all four corners and pin the binding in place
When you return to the start, leave both ends loose — these will form the join.

Machine the Binding
Katrina lengthened her stitch from 2.5 to 3 and used a walking foot to handle the quilt’s bulk.
Start with a locking stitch and sew to the first corner. Lift the flap slightly and sew up to the fold line.


Stop with the needle down, lift the presser foot, and turn the quilt. Sew off the edge, cut the thread, fold the flap over, and resume sewing with a ¼” gap from the top.
Continue sewing around all four corners
Finish with a locking stitch when you return to the start. You should have two loose tails with a gap between them.
Fold both ends together, press to mark a crease, and use that fold as your seam line.
Take your time — an accurate crease gives a better fit.

Open the binding and pin the two pieces together along the crease. Sew down that line.


Once joined, trim ¼” from the seam on the correct side (not toward the quilt). Press seams open, flatten the binding, and stitch the final gap closed.

Fold the binding in half and secure it with clips. For mitered corners, fold one side over the other and clip in place.

Once hand sewn, the binding will sit neatly with perfectly mitered corners.

Continue clipping around the quilt, then finish with a slip stitch along the entire binding.
Tip: Use thread the same colour as your binding for the neatest result.
At each corner, fold one side under the other and secure with a small tack stitch.

…And just like that, you have a beautifully bound quilt with perfect mitered corners!
If you'd prefer a video tutorial of this project, watch below:

Find the perfect machine for you
Take our quiz to find the best sewing machine for your needs.
Take the Quiz


