How to Use a Sewing Machine for the First Time
How to use a sewing machine for the first time


You've got your first sewing machine sitting in front of you. Learning how to use a sewing machine for the first time isn't nearly as daunting as it looks. With a bit of patience and the right guidance, you'll be stitching confidently in no time. This guide will walk you through everything you need to know, from threading your machine to winding the bobbin.
A Few Things to Know Before You Get Started
Feeling overwhelmed at first is normal. Every accomplished sewer once stared at their first machine wondering where to start. The good news is that modern sewing machines are designed to be user-friendly and the fundamentals haven't changed much over the decades.
Not sure which machine is right for you? Take a look at our range of beginner-friendly sewing machines to find one that suits your needs.
The most important things to know right now:
-
The basics are the same on every machine. While your Janome might look different from your friend's Brother or Bernina, they all work on the same principle – two threads (one from above, one from below) interlock to create stitches.
-
Keep your manual handy. You'll reference it often in the beginning. We know manuals can be dry reading, but yours contains valuable information specific to your machine.
-
Practice makes progress. Like learning to drive, using a sewing machine becomes second nature with practice. Start slowly and build your confidence gradually.

Setting Up Your First Sewing Machine Safely
Before you can start sewing, you need to set up your machine properly. This isn't just about getting it working – it's about creating a comfortable environment for your new hobby.
Creating the Right Environment
Find the right sewing spot
Your machine needs a stable, flat surface where you can sit comfortably. A dining table works well if you don't have a dedicated sewing space. Make sure you have good lighting – you'll be working with small details and proper illumination prevents eye strain and mistakes.
Connecting Your Machine Safely
Connect the power safely
Plug your power cable into the side of your machine (usually the right-hand side) and switch on at the mains. Find your on/off switch on the side of the machine.
Attach the foot pedal
Find your foot pedal and plug it into your machine where indicated (often near the power connection). Place the pedal on the floor where your foot can reach it comfortably. If you have a computerised machine, you might also have a start/stop button, but it's worth learning to use the pedal for better control.
Make sure there are no hazards
Make sure your power cable isn't stretched too far or creating a trip hazard. Keep water well away from your machine – spills on electronics can cause serious damage.

Understanding the Different Parts
|
Part |
What It Does |
Where to Find It |
|
Needle & Needle Shaft |
Creates the stitches through fabric |
Front of the machine, with a small screw on the right side |
|
Presser Foot |
Holds fabric flat while sewing |
Metal attachment under needle, with a lever to raise/lower |
|
Bobbin Area |
Houses the bottom thread |
Beneath the needle, behind the clear cover or sliding door |
|
Hand Wheel |
Moves the needle up/down manually |
Right side of machine, for precise positioning |
|
Controls |
Adjust stitches and tension |
Various locations - focus on the basics first |
Winding and Loading Your First Bobbin
The bobbin holds the bottom thread that your machine sews with – it works together with the top thread to create each stitch.
Your machine should have come with a few empty bobbins and possibly one ready-wound. If you have a pre-wound bobbin, you can skip the winding step for now.
To wind your own bobbin:
-
Take an empty bobbin from your accessories kit
-
Place your thread spool on the spindle at the top of your machine
-
Find the bobbin winding area (inspect your manual for the exact location)
-
Thread the end through the small hole in your bobbin
-
Place the bobbin on the winding spindle and push it over to engage
-
Hold the thread end and press your foot pedal gently – the bobbin will fill with thread
-
When it's full, it will stop automatically
Loading the bobbin correctly:
-
Open the bobbin area (lift the clear cover or slide the door)
-
Drop your wound bobbin in, following the directional arrow
-
Pull the thread through the slot, following any guides or diagrams on your machine
-
Replace the cover
Which way your bobbin thread feeds really matters. If it’s in the wrong way, your stitches won’t form properly. When in doubt, look at your manual's diagram.

Threading Your Sewing Machine: Step-by-Step
Threading your machine properly is critical for good stitches. Threading correctly ensures your machine forms stitches properly. Most modern machines have numbered guides and diagrams to help you.
The golden rule: always raise your presser foot before threading. This releases the tension discs so your thread can slip between them properly.
Step-by-step threading:
-
Place your thread spool on the top spindle with any thread guides or caps
-
Pull the thread to the right and through the first guide (usually marked "1")
-
Bring it down the right side, around the bottom of the tension assembly
-
Up the left side, through the take-up lever (the metal hook that moves up and down)
-
Back down towards the needle, through any remaining guides
-
Thread the needle from front to back
If you have a built-in needle threader: Most newer machines include this helpful feature. Lower the threader, hook your thread around it, and follow your manual's specific instructions. It takes practice, but saves time once mastered.
Double-check your work: Pull the thread gently – it should move smoothly through all the guides with a bit of resistance from the tension discs.
Thread and Needle Basics for Beginners
Thread and needle selection doesn't need to be complicated. For most beginner projects:
All-purpose polyester thread works well for most projects. It's strong, works with most fabrics and comes in countless colours. Avoid very cheap thread as it tends to break easily. We recommend Gutermann Sew All thread.
Universal needles in size 80/12 handle most cotton fabrics well. When you're ready to branch out, there are needles for different fabric types, but these will get you started.
Changing needles safely: Use the small screwdriver from your accessories kit. Hold the needle steady and loosen the screw (don't remove it completely). Slide out the old needle and insert the new one with the flat side facing the back. Tighten the screw firmly.
Change your needle after every 6-8 hours of sewing or sooner if it starts snagging fabric or making poor stitches.

Getting to Grips with Stitch Settings and Controls
Modern machines offer many stitch options, but you'll start with just two: straight stitch and zigzag stitch.
Understanding Straight vs Zigzag Stitches
The straight stitch is your go-to for most projects; it’s the one that holds seams together and is usually marked as stitch number 1 or shown as a simple dotted line. The zigzag stitch, on the other hand, moves the needle side to side as well as up and down, making it well-suited for finishing raw edges and working with stretchy fabrics, though it’s best to come back to this one once you’re more confident.
Stitch Length and Width Settings
Stitch length controls how big each stitch is, with 2.5mm being the standard for most sewing, just the right balance between too small and too large. While you can adjust it, the default setting suits most projects. Stitch width, meanwhile, only applies to zigzag or decorative stitches and doesn’t affect straight stitching at all.
Create a practice sampler: Try different stitches on fabric scraps and keep the sample near your machine. It's handy for quick reference and shows how your machine performs each stitch.
If you're still deciding on your first machine, our Sewing Machine Buyer’s Guide walks you through the key features to consider.
Making Your First Stitches: Find A Piece of Scrap Fabric
Practice builds confidence and teaches pedal control. Medium-weight cotton is ideal - it’s forgiving and easy to handle. Save stretchy fabrics like jersey or lightweight fabrics like muslin for later.
Scrap fabric practice session:
-
Select straight stitch on your machine (usually marked "1" or shown as a dotted line)
-
Place the fabric under your presser foot and lower the foot
-
Hold the thread tails gently with your left hand
-
Press the pedal very lightly and the machine will start stitching
Mastering the Foot Pedal and Speed Control
The foot pedal is like the accelerator in a car – the harder you press, the faster you go. You want to start very slowly.
Getting comfortable with the pedal:
-
Rest your heel on the floor and use your toe to control pressure
-
Start with the gentlest touch – most machines are quite sensitive
-
Practice stopping and starting smoothly
-
If your machine runs away from you, lift your foot completely
Using the hand wheel for precision: When you need the needle in a specific position (up or down), use the hand wheel rather than tiny pedal taps. Turn it towards you to raise the needle, away to lower it.
How to Backstitch and Keep Your Seams Secure
Backstitching is your insurance policy against seams coming apart. It's simple but crucial - a few reverse stitches at the start and end of each seam prevent unravelling.
The backstitching process:
-
Start sewing forward for 3-4 stitches
-
Press and hold the reverse button (usually marked with a curved arrow)
-
Sew backwards over your first stitches
-
Release the reverse button and continue forward
-
At the end of your seam, repeat the process
Finding your reverse button: Every machine is different, but it's usually a prominent button or lever near the needle area. On computerised machines, it might be a touch button or icon.
The rhythm becomes second nature quickly: forward, reverse, forward at the start; forward, reverse at the finish.
Troubleshooting Problems
Don't panic when things go wrong – they will, and it's completely normal. Here are the most common issues and their solutions:
Thread issues
-
Go over your threading – this fixes 80% of problems
-
Ensure that the presser foot is up when you thread
-
Try fresh thread – old thread becomes brittle
-
See if your needle is bent or dull
Problems with stitching
-
Re-thread your entire machine, top and bobbin
-
Confirm that your bobbin is inserted correctly
-
Ensure you're not pulling or pushing the fabric
Noise or Mechanical Warnings
-
Stop immediately and look for thread tangles
-
Look for lint buildup in the bobbin area
-
Ensure you haven't accidentally engaged the bobbin winder
Needle hits the presser foot
-
See if you have the right presser foot attached for the stitch you want to sew
-
Ensure you have selected the right stitch
-
Double-check that your needle isn't bent
-
Verify the needle is inserted correctly
When to Stop and Start Over
Your sewing machine gives you clues when something’s not right, so pay attention to what it’s doing. Unusual noises, resistance when threading, or poor stitch formation all signal that it's time to stop and troubleshoot.
Signs you need to re-thread completely:
-
Loops of thread on top or bottom of fabric
-
Stitches that pull out easily
-
Thread bunching under the fabric
-
Uneven stitch tension
When in doubt, start fresh. Re-threading takes two minutes and often solves mysterious problems instantly.
Watch our short video for troubleshooting stitch issues here
Time for Your First Simple Project
Once you can sew straight lines confidently and your backstitching feels natural, you're ready for a simple project. The key is choosing something that builds confidence rather than tests your limits. Most of the beginners we spoke to on Reddit said that tote bags, pillowcases and drawstring bags were their first successful projects. They’re simple, practical and forgiving when your seams aren’t perfectly straight yet. A few also mentioned that pyjama pants were great once they’d mastered basic straight seams, they’re easy to wear and teach you how to handle elastic waistbands.
Beginner-Friendly Projects
Start with projects using only straight stitches.
Fabric Types to Start With and Avoid
Fabrics to start with:
-
Medium-weight cotton is well-suited for those with beginner sewing machines – it feeds through the machine smoothly, doesn’t stretch or shift, and handles mistakes well.
-
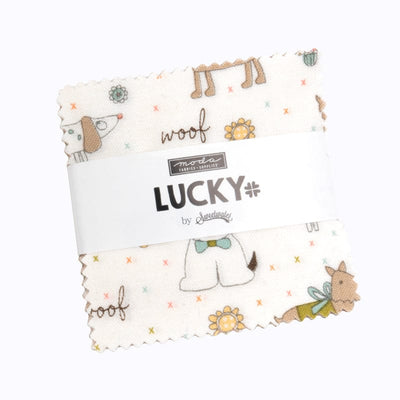
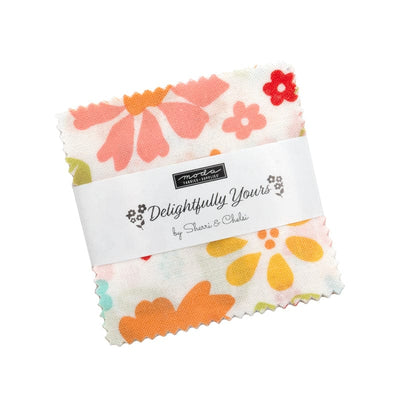
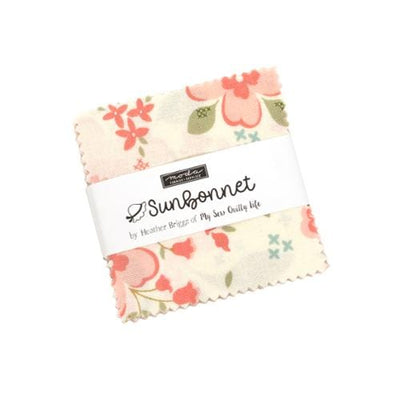
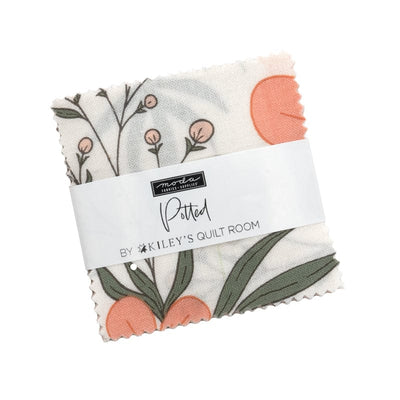
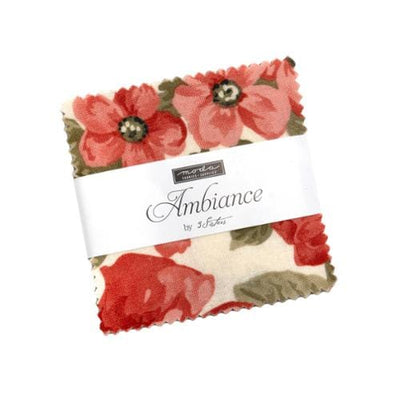
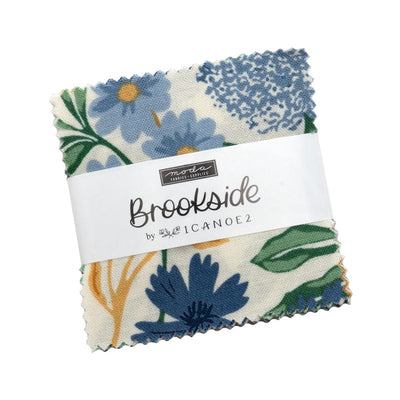
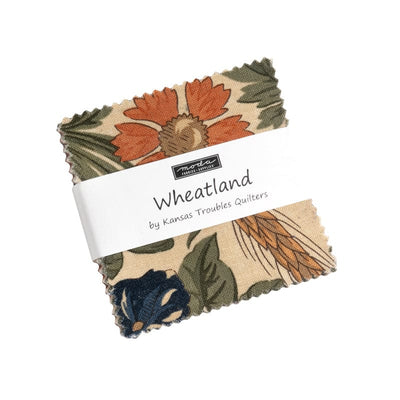
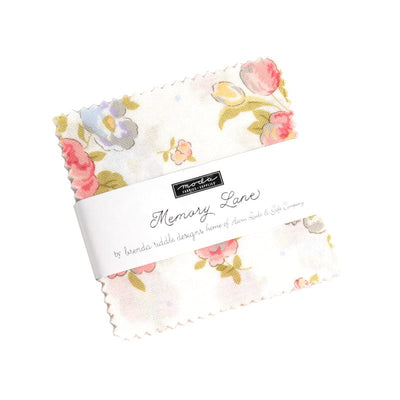
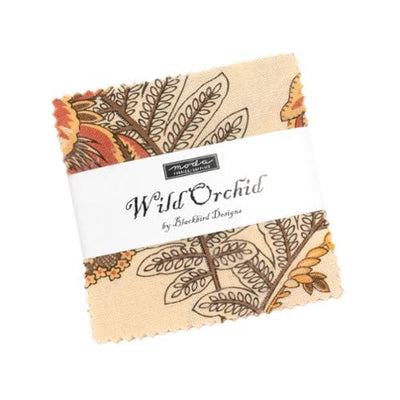
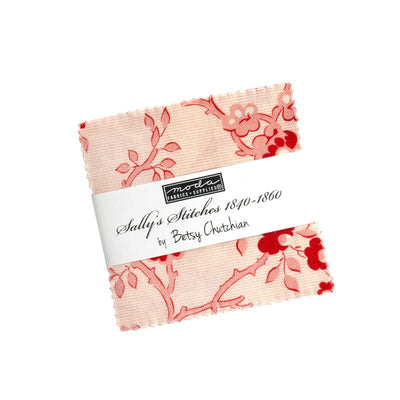
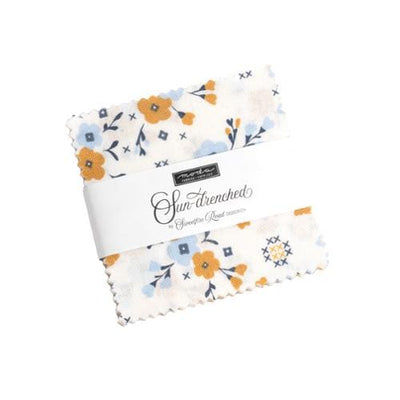
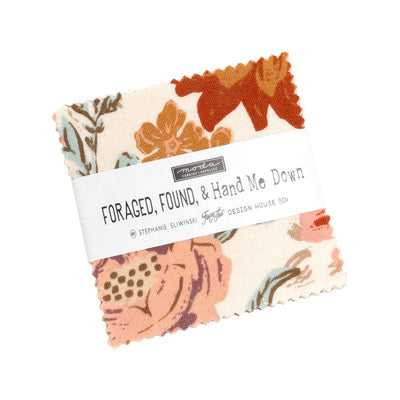
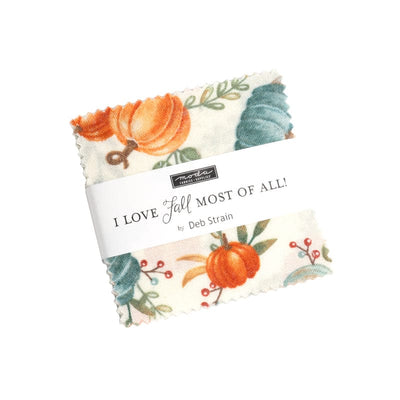
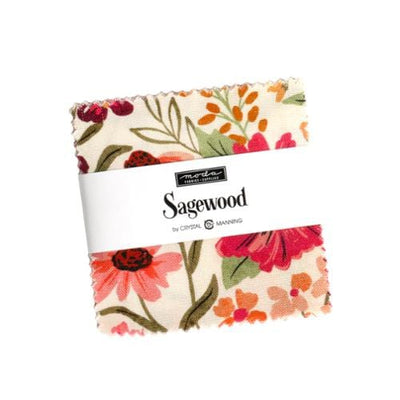
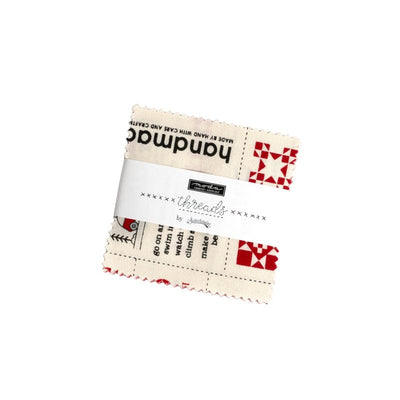
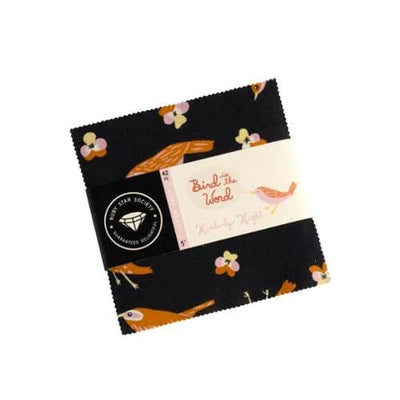
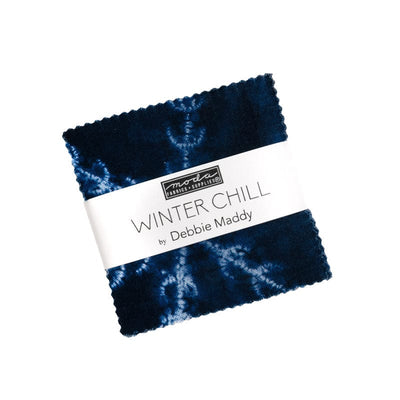
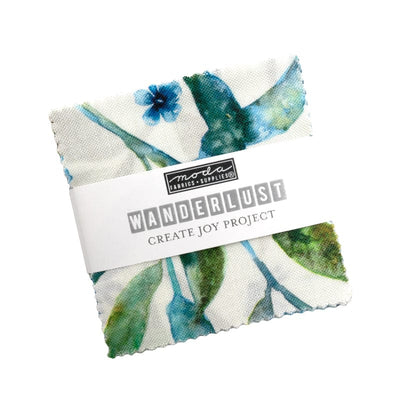
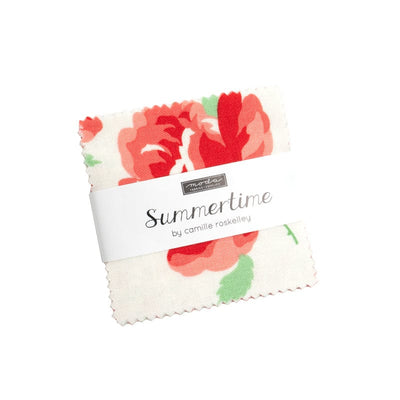
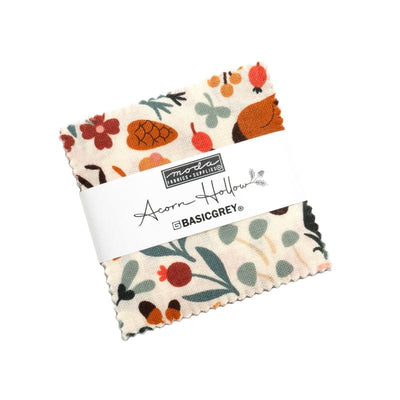
Quilting cotton from brands like Moda or Ruby Star Society often have beautiful prints making even simple projects feel special.
-
Several sewists in our Reddit thread said that they started with medium-weight cotton or quilting cotton which helps beginner sewers get straight seams.
Fabrics to avoid:
-
Stretchy fabrics like jersey or Lycra
-
Very thick fabrics like denim or canvas
-
Slippery fabrics like silk or satin
-
Projects requiring precise matching or complex construction
Building Your Basic Sewing Kit
Beyond your machine, a few good tools make learning easier and more enjoyable:
Essential tools:
-
Sharp fabric scissors (keep them for fabric only)
-
Small snips for cutting threads
-
Rotary cutter - essential if you plan to quilt
-
Cutting mat - especially if you’re using a rotary cutter
-
non-slip quilting ruler - essential for quilting
-
Iron for pressing seams
-
Good quality pins
-
A seam ripper for fixing mistakes
-
A measuring tape
-
Fabric marking tools
Quality matters for tools. Good scissors cut cleanly without fraying fabric. Sharp pins slide through fabric easily. A reliable seam ripper removes stitches without damaging fabric. These tools last for years and make every project more enjoyable.
Caring for Your Machine from Day One
Proper care keeps your machine running smoothly and extends its life. Start good habits now, even with a new machine.
After-session maintenance:
-
Remove any lint from the bobbin area using the small brush in your kit
-
Wipe down the machine with a soft, dry cloth
-
Cover your machine to protect it from dust
Weekly Maintenance (if you sew regularly):
-
Clean the bobbin case more thoroughly
-
Check for bent pins or needles in your sewing area
-
Ensure your machine cover fits properly
Signs your machine needs professional attention:
-
Stitches remain poor despite re-threading and cleaning
-
Unusual noises that don't resolve with basic troubleshooting
-
Mechanical parts that feel stiff or sticky
-
Any electrical issues with the lights or motor
Getting your machine professionally serviced every 12 to 18 months helps keep everything running smoothly. We have a team of expert sewing machine engineers who service all major brands and can advise on maintenance schedules specific to your machine.
Top tips for cleaning your sewing machine between uses
Building Confidence and Where to Go Next in Your Sewing Journey
Learning to use your first sewing machine is genuinely exciting. Every small success – your first straight seam, your first completed project, your first time threading without checking the manual – builds confidence for bigger adventures ahead.
Celebrate small wins. That slightly wobbly first seam represents a real achievement. Your first successfully sewn buttonhole, even if it's not perfectly neat, shows growing skill. These moments matter.
Remember that "good enough" is good enough. Professional-looking results come with practice. Your early projects are evidence of your developing skills.
Connect with other sewers. Online communities, local sewing groups, and classes provide support, inspiration, and answers to questions. The sewing community is welcoming and generous with advice.
Plan your learning journey. After mastering straight stitching, you might try zigzag stitches, a basic quilt block or another beginner project such as a tote bag. Each new skill opens up more project possibilities.
Expert guidance accelerates progress. While self-teaching is possible, structured learning saves time and prevents bad habits. The Sewing Studio's tutorials provide expert instruction that builds solid foundations for lifelong sewing enjoyment.
Your first sewing machine opens doors to creativity, practicality, and personal satisfaction. These foundational skills support every future project, from mending and making gifts to creating an entirely new wardrobe. Take it slowly, be patient with yourself, and enjoy the journey. Before you know it, you'll be helping the next generation of sewers with their first threading attempts.
Frequently Asked Questions
I'm scared I'll break my new sewing machine. Is this normal?
Completely normal! Modern sewing machines are sturdier than you think. Follow your manual, take things slowly, and don't force anything. Most "disasters" are actually simple threading issues that look worse than they are.
My thread keeps breaking on my first attempts. What am I doing wrong?
Usually, incorrect threading or an old thread. Re-thread your entire machine with the presser foot UP (this is important), and try fresh, good-quality thread. Make sure that your needle isn't bent and that your bobbin is inserted correctly.
Should I practice on paper before fabric?
No, we would recommend learning to sew on scrap fabric, ideally cotton.
What's the most important thing to remember when threading my machine?
Always raise the presser foot first. This releases the tension discs so the thread can pass through properly. Most threading problems stem from forgetting this crucial step.
How do I know if I'm sewing too fast?
If you feel out of control, your stitches look uneven, or you're fighting the machine, slow down. Speed comes naturally with practice and confidence. There's no prize for racing through your first projects.
I’m having trouble sewing straight. What should I do.
Messy and wobbly first attempts are completely normal. Avoid pulling or pushing the fabric - let the feed dogs pull it through while gently guiding with a steady hand. Your machine is designed to handle the fabric.
Sewers often use temporary fabric markers to help achieve straight stitches. We also recommend using the seam allowance guides on your sewing machine etched into the needle plate to help you sew straight seams. Finally, sew at a comfortable speed.
When should I try my first real project?
After you can sew reasonably straight lines on fabric scraps and feel comfortable with threading, backstitching, and basic pedal control, start with something simple that uses only straight stitches. Find a tutorial on our YouTube channel here.
What happens if I accidentally sew over pins?
Stop immediately and remove the pin. Modern needles can usually handle occasional pin contact, but it can bend the needle or damage the machine timing. Sew slowly near pins and remove them before the needle reaches them.
Find the perfect machine for you
Take our quiz to find the best sewing machine for your needs.
Take the Quiz